What it holds
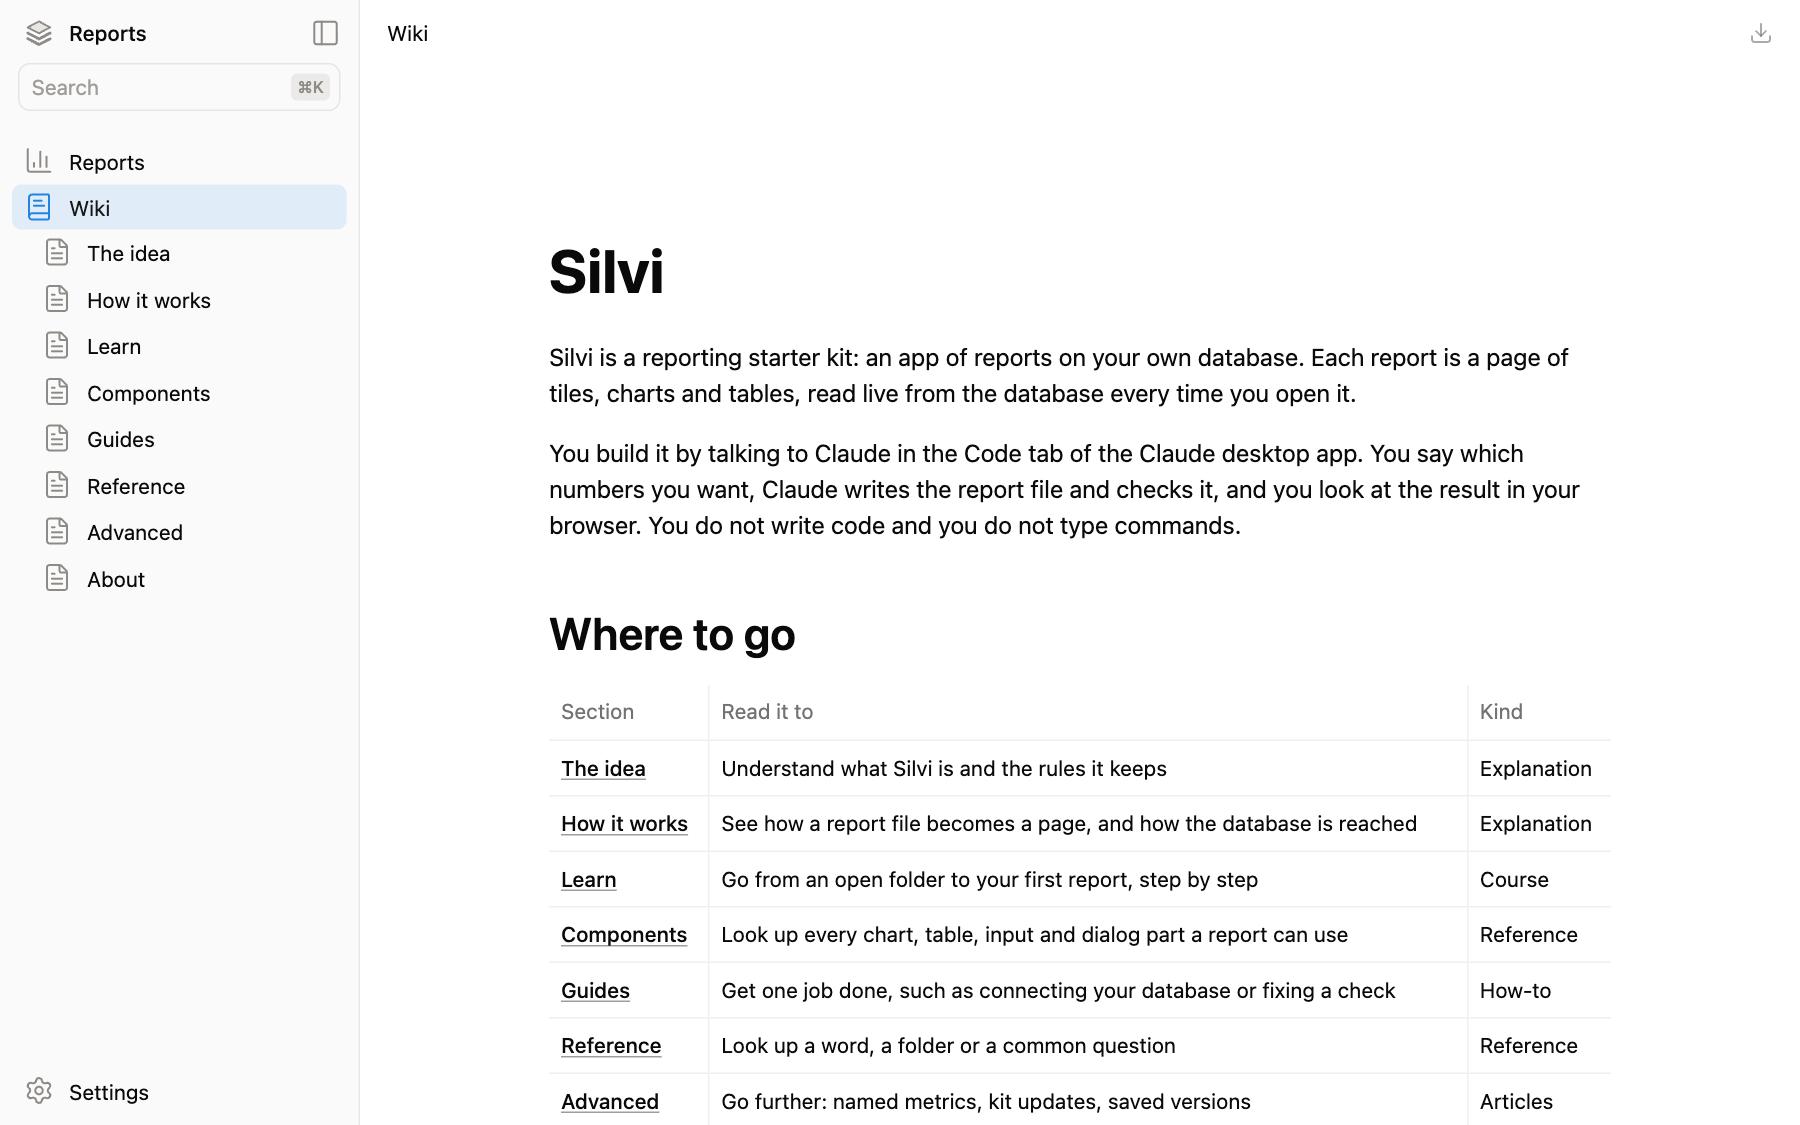
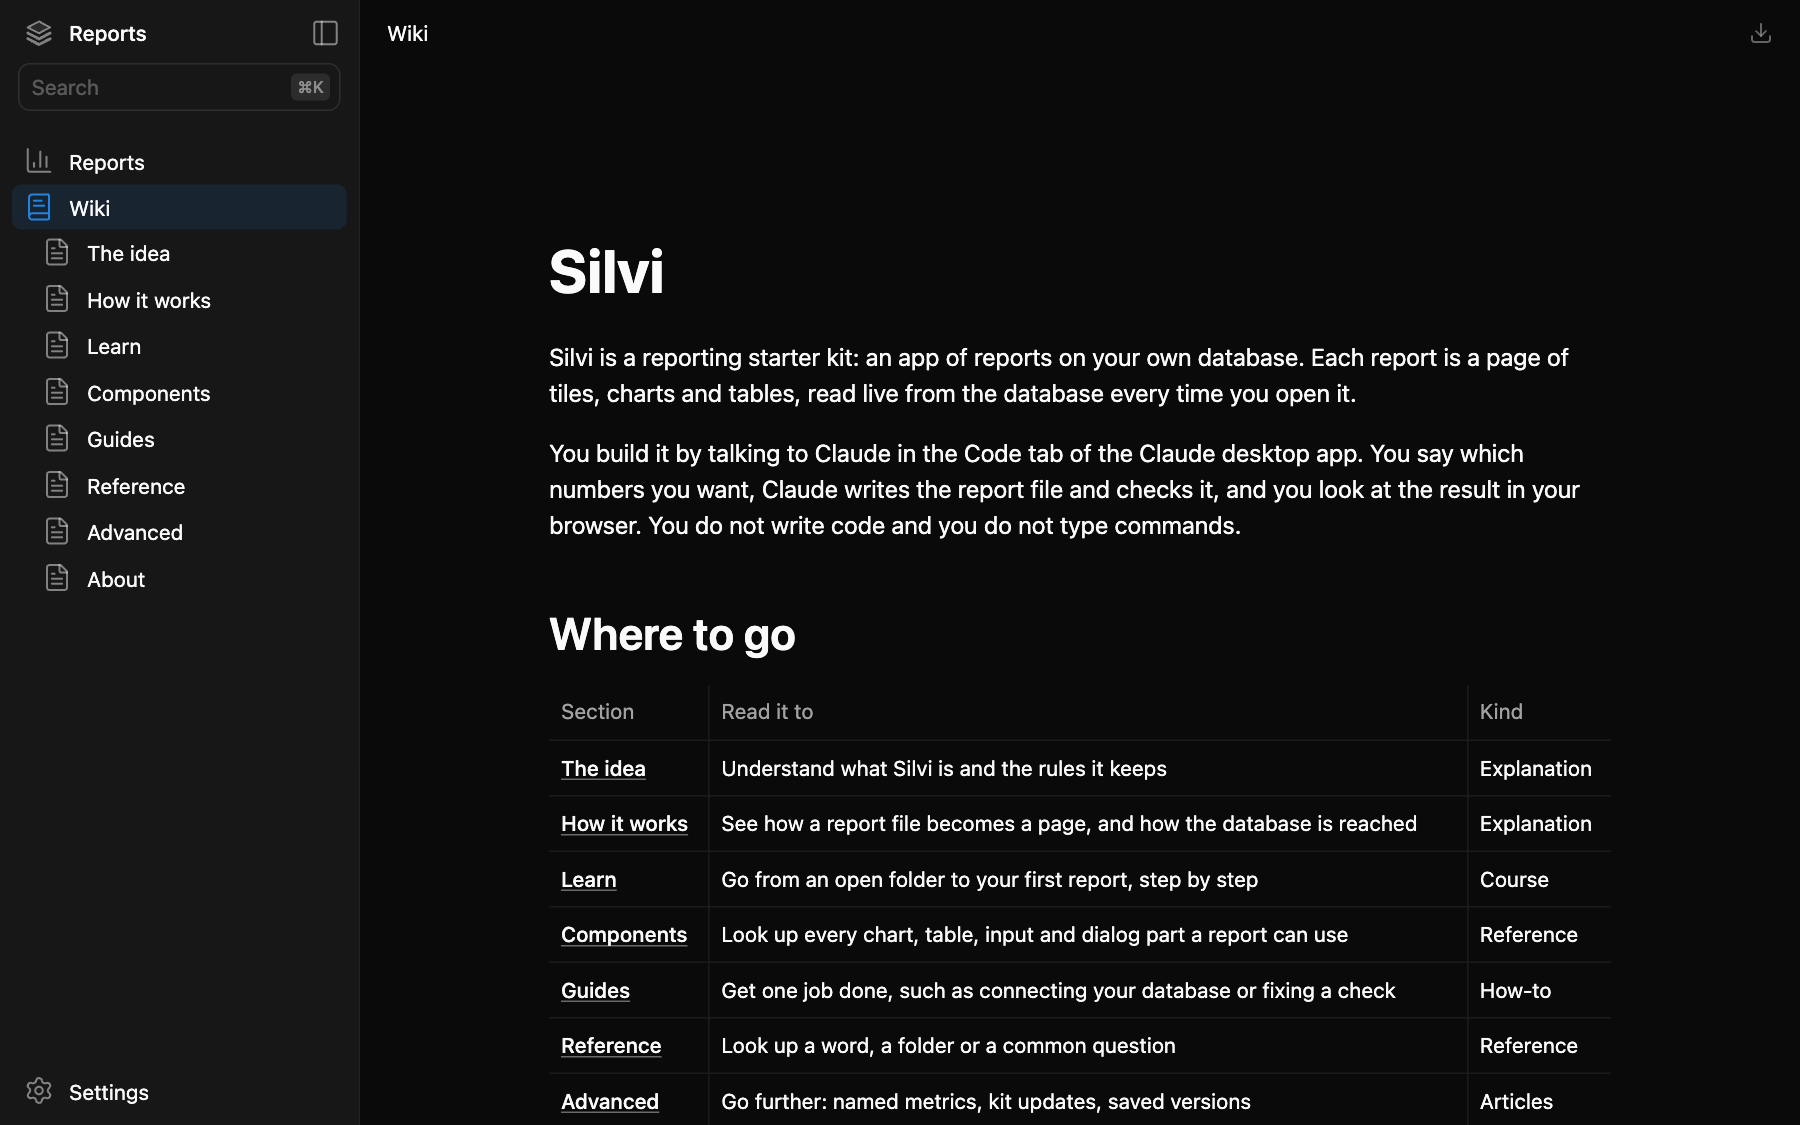
The wiki is the second module in the app’s sidebar, at /wiki. It ships with the kit: what Silvi is, how a report becomes a page, a short course, a page for every component, guides and a glossary. It is yours to change.
The Components section is on this site too, under All components.
Where its files live
One Markdown page per file in app/wiki/. A folder is a section, and its index.md is the section’s landing page. Images live in app/public/wiki/.
Settings
Settings → Wiki shows the module’s name, the code behind its screens and its folder, app/wiki/.
Writing pages
Keep what you learn about your data here: what a status means, which table to trust, how a figure is counted. Ask:
“Add a wiki page about our order statuses: what each one means and which ones count as sold.”
“Make a wiki section called Our data, with a page per source system.”
Claude writes the page as a file in app/wiki/ and adds it to its section’s table of contents. A new section is a folder with its own index page. For an image, put it in the chat or say where it is; Claude saves it in app/public/wiki/ and shows it with a caption.
How a page is made
One Markdown page per file in app/wiki/. A folder is a section, and its index.md is the section’s landing page, with a table that links each page in it. Every page starts with title, description and order.
---
title: Order statuses
description: What each status means, and which ones count as sold.
order: 1
---

| Status | Means | Counts as sold |
|---|---|---|
| paid | The payment went through | Yes |
| shipped | It left the warehouse | Yes |
| cancelled | Cancelled before shipping | No |

> [!NOTE]
> **Refunds are not a status.** A refunded order stays shipped; see the refunds table.A page is plain Markdown: headings, paragraphs, lists, GitHub’s tables, links, images and code. There is one more form, a set-off note: a quote whose first line is [!NOTE]. The app turns each page into HTML when it builds.
Every named metric is written out on the wiki’s Metrics page (/wiki/reference/metrics) by itself, from metrics.ts: there is nothing to keep in step.
The rules it is written by
Pages are written for someone in the Code tab of the Claude desktop app, never for a terminal. An action is written as what to ask Claude, in quotes. Plain words, short sentences, tables for anything with more than two parallel items, and made-up names in every example.